Create & send a WhatsApp campaign
A four-step wizard turns a contact list and an approved template into a broadcast, with a live WhatsApp preview that updates as you go. Replies land back in your inbox, so a campaign becomes real conversations.
Create & send a campaign
- A connected WhatsApp number under Inboxes. See Connect WhatsApp.
- A contact list imported or added. See Add contacts.
- At least one Meta-approved template. See message templates.
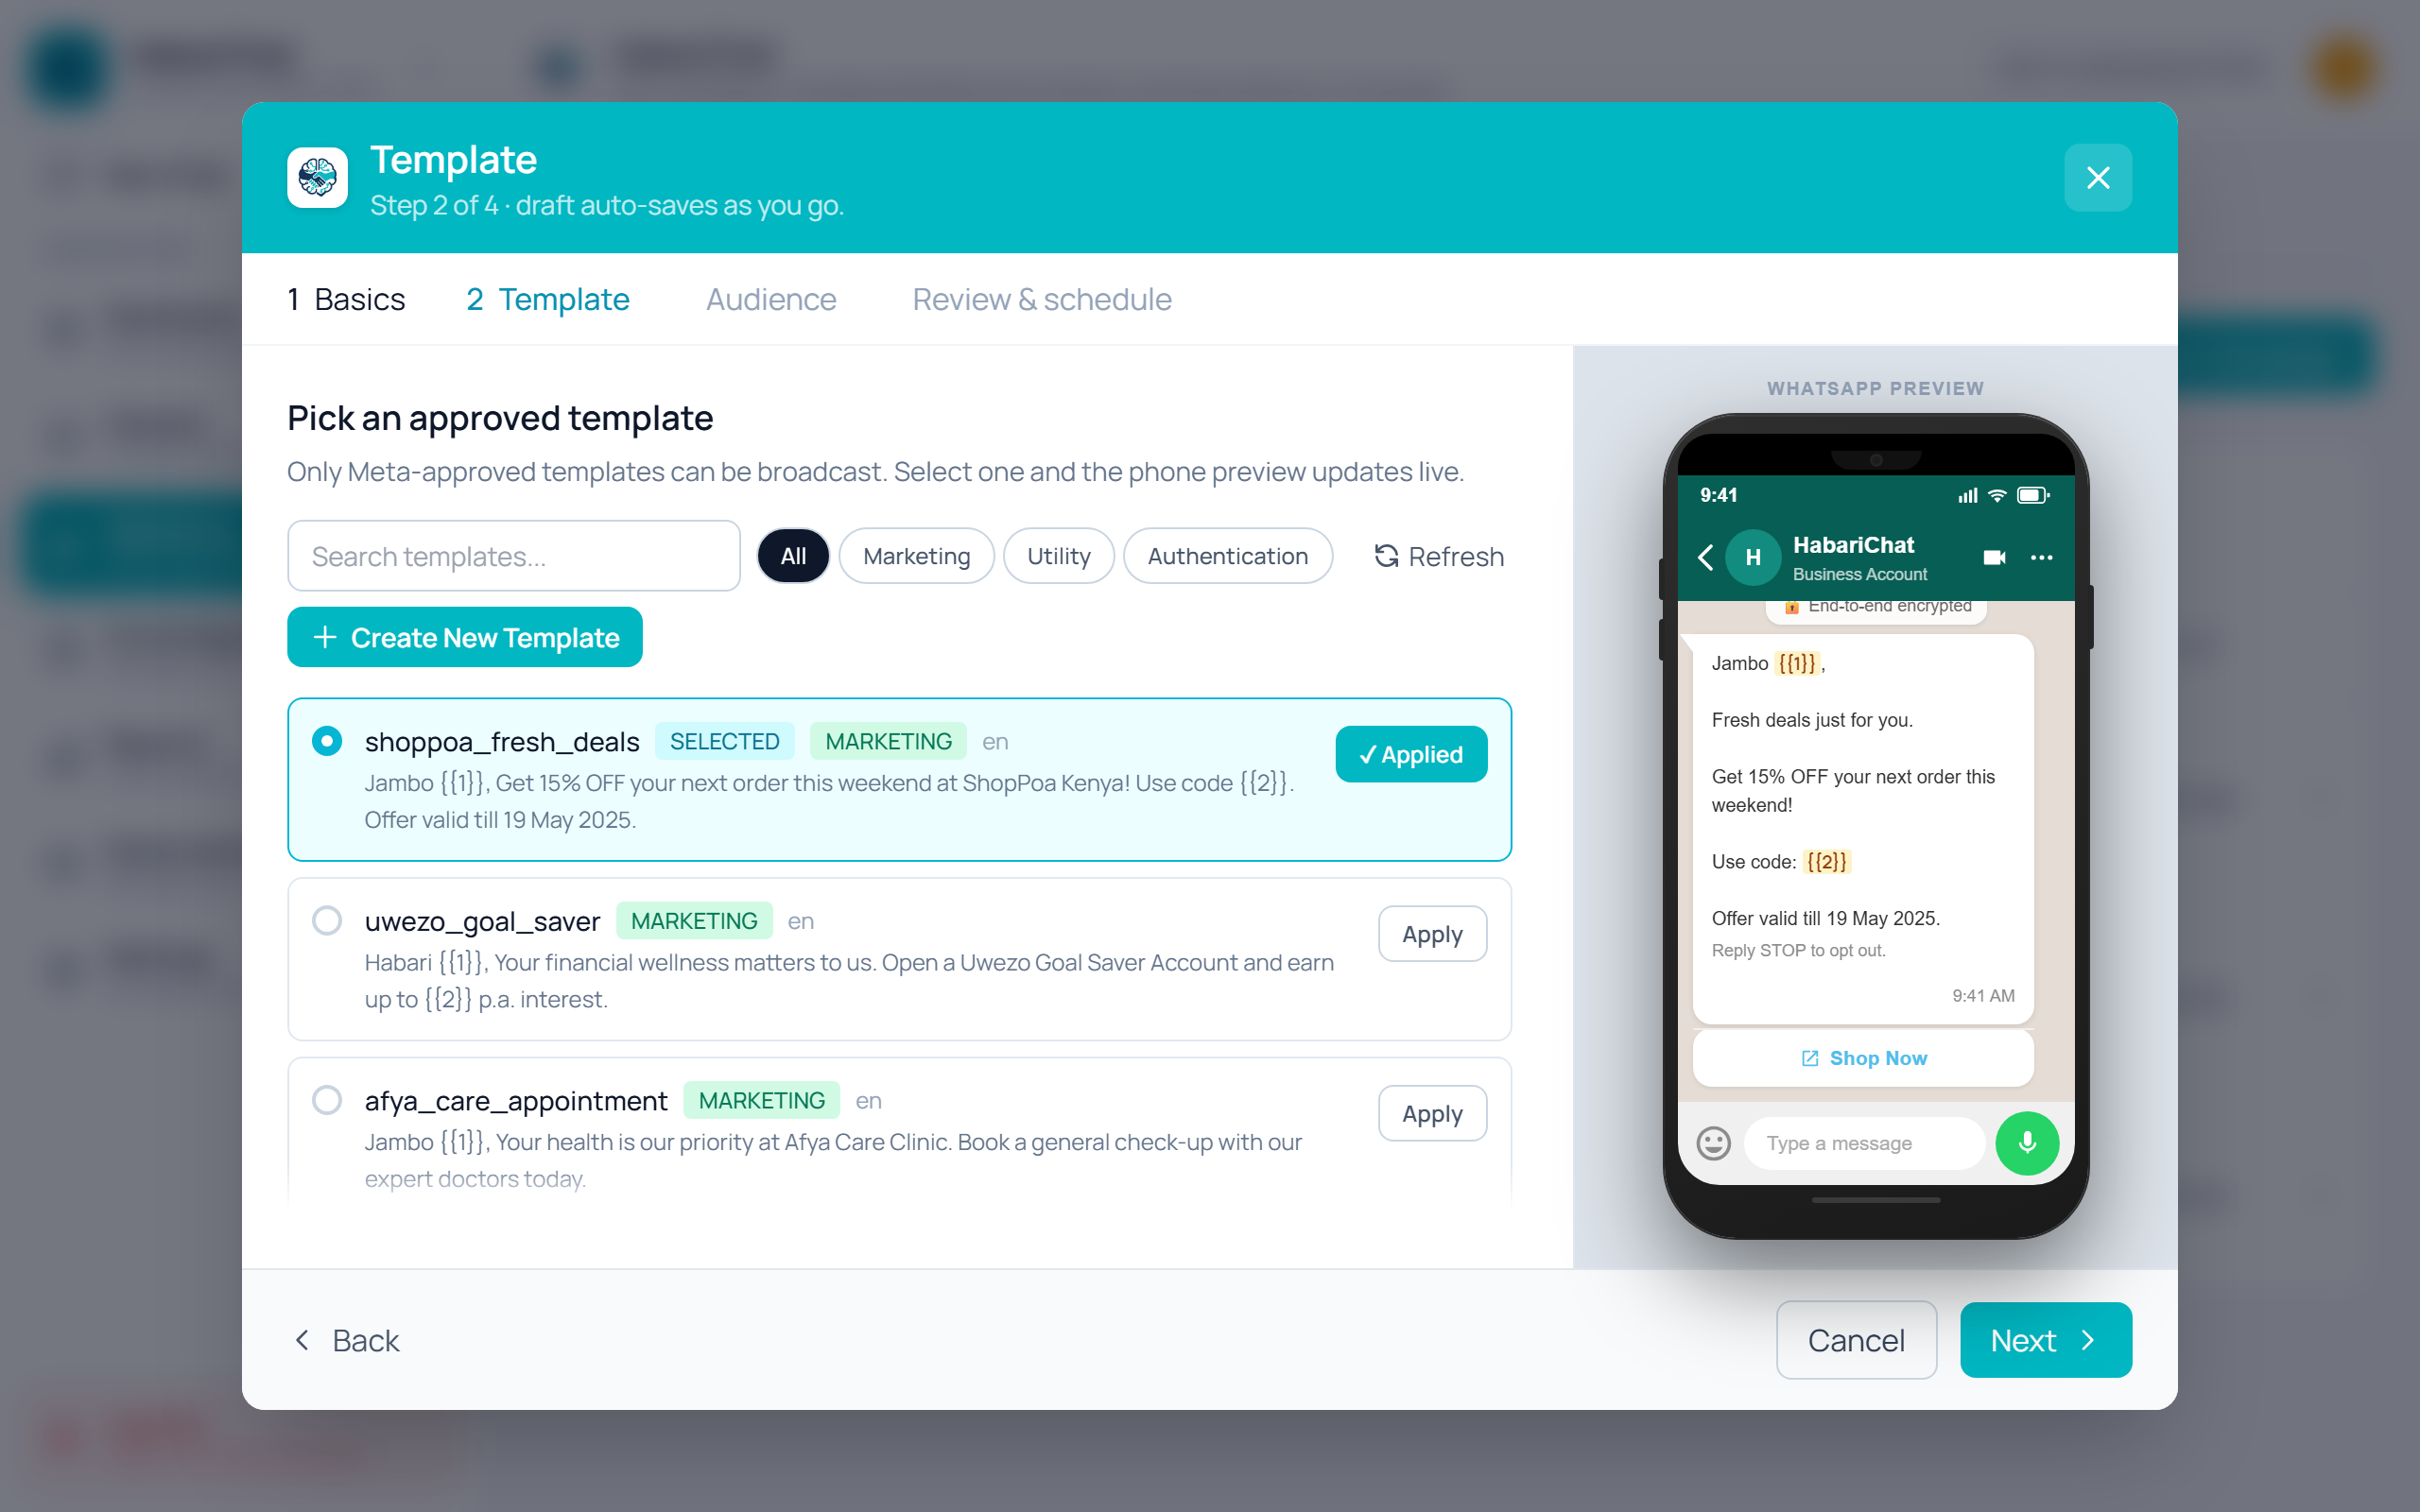
Clicking Create Campaign opens a four-step wizard — Basics → Template → Audience → Review & schedule — with a live WhatsApp preview that updates as you go (you can watch the whole flow in the demo above).
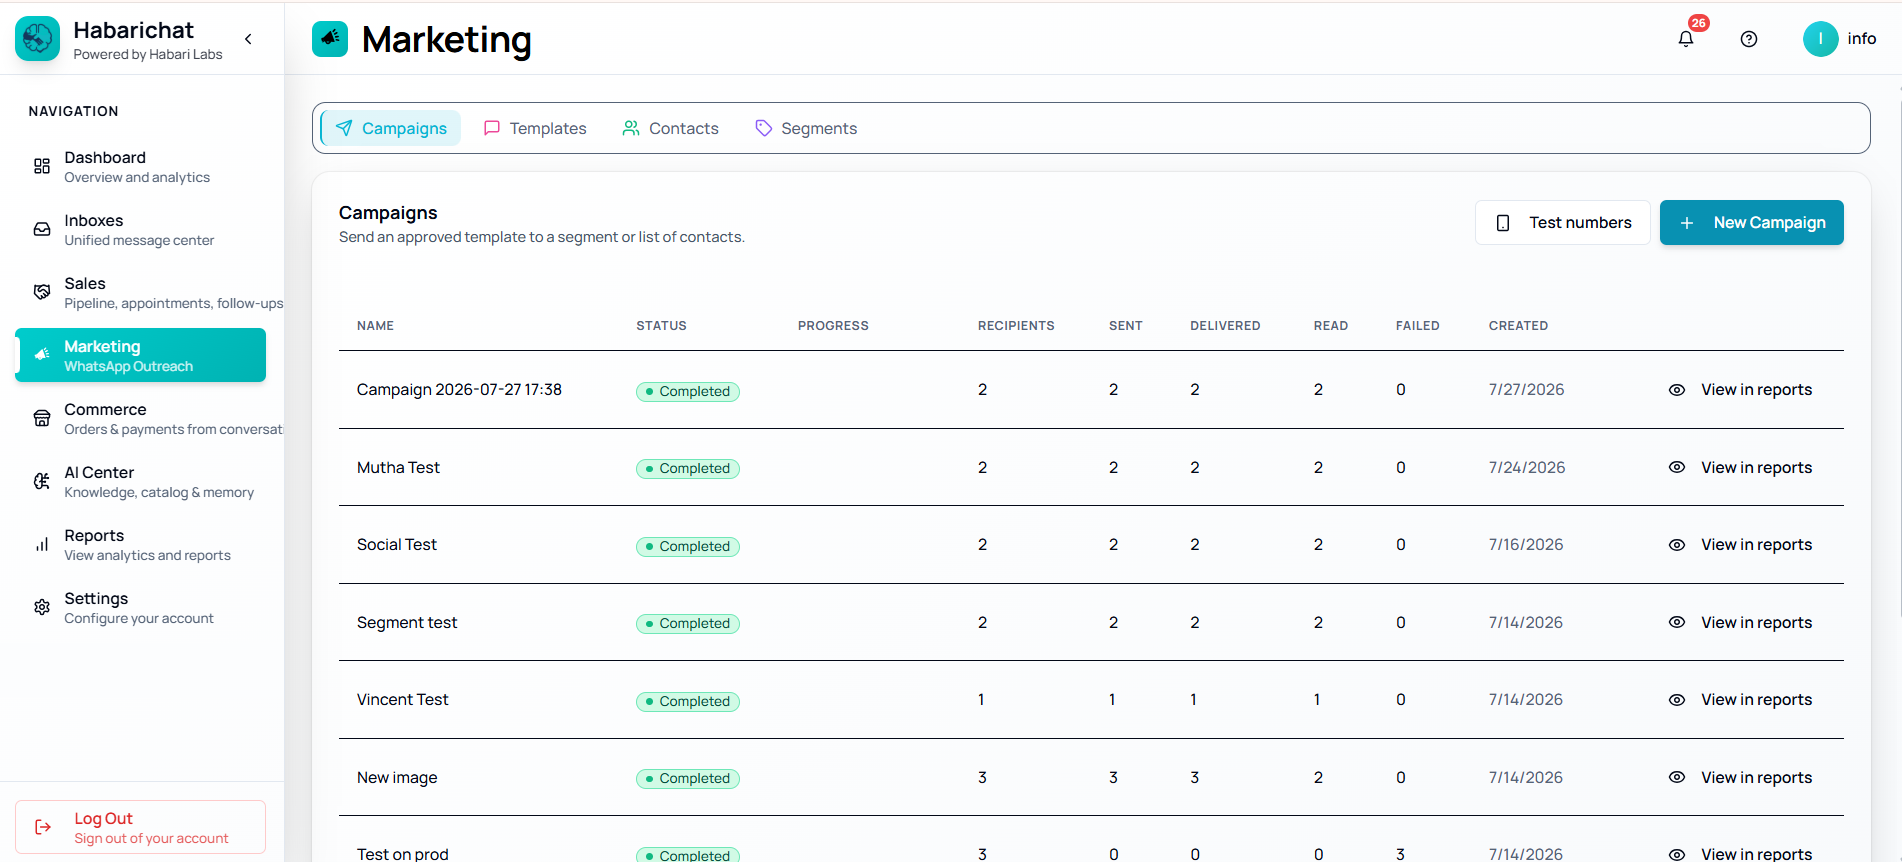
- Basics: name the campaign and choose the WhatsApp inbox that will send it.
- Template: pick a Meta-approved message template. Only approved templates can be broadcast; the preview shows its variables ({{1}}, {{2}}) live.
- Audience: choose a saved segment or specific contacts.
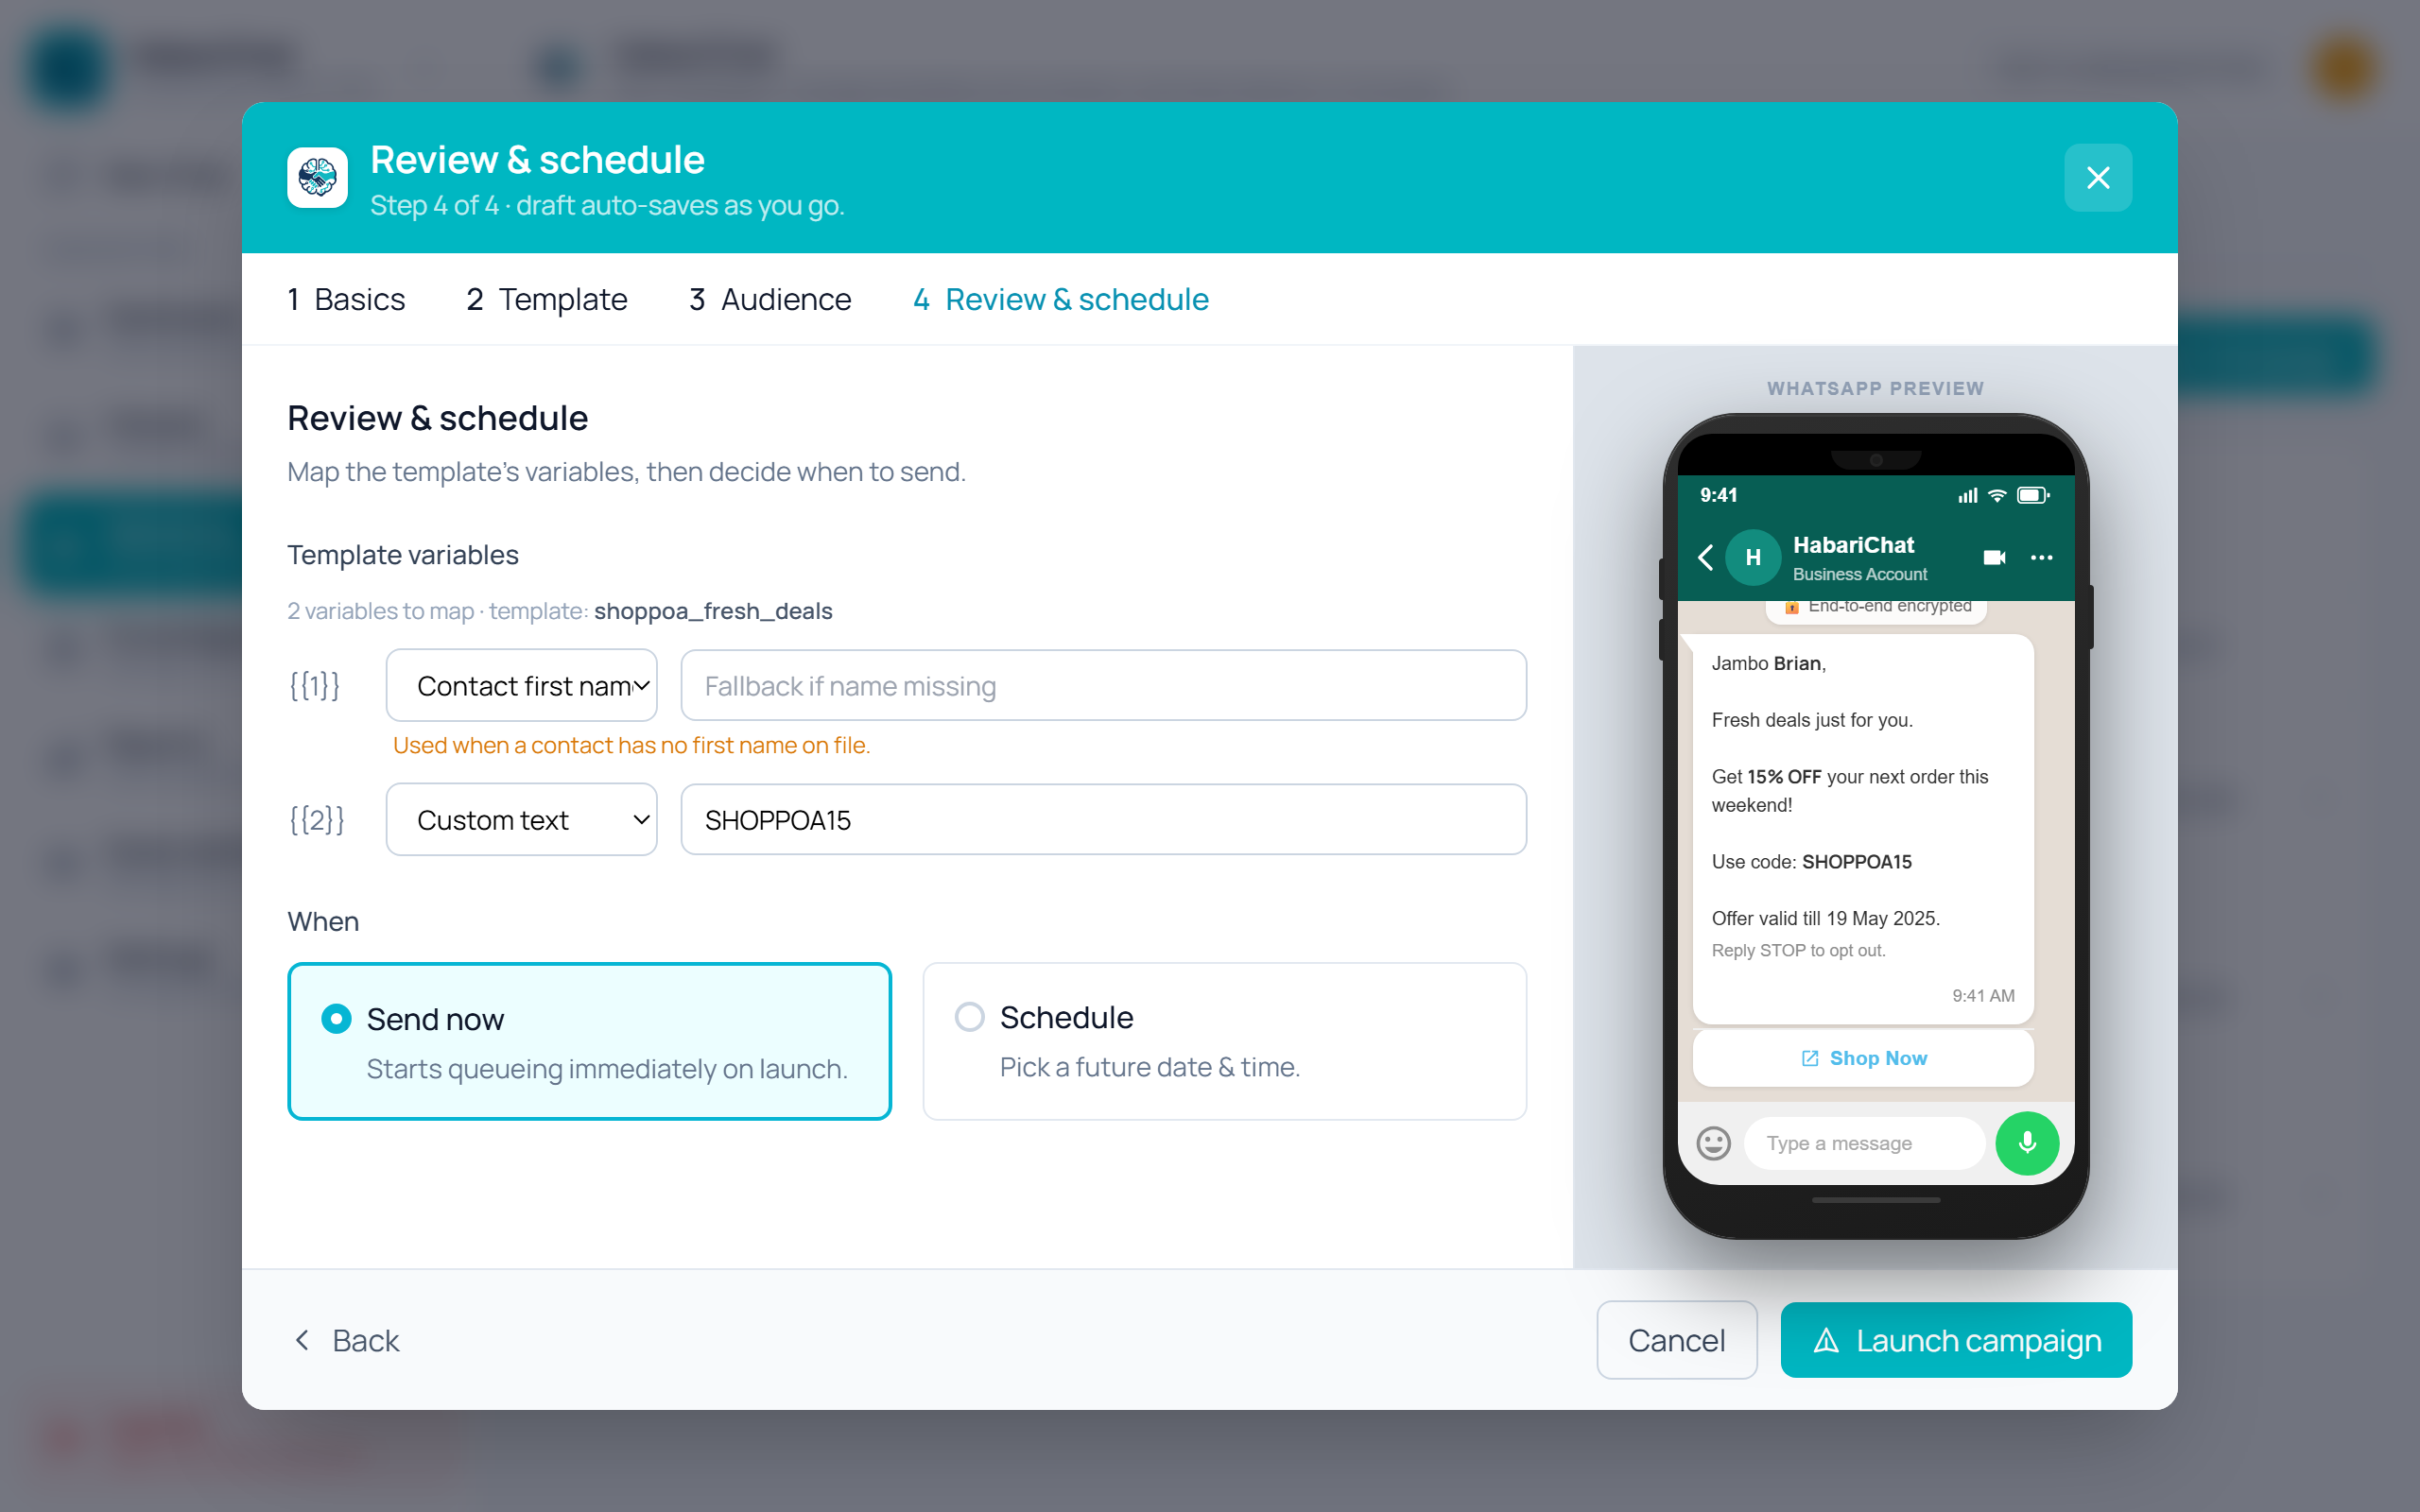
- Review & schedule: map the template's variables to contact fields, then choose Send now or Schedule.
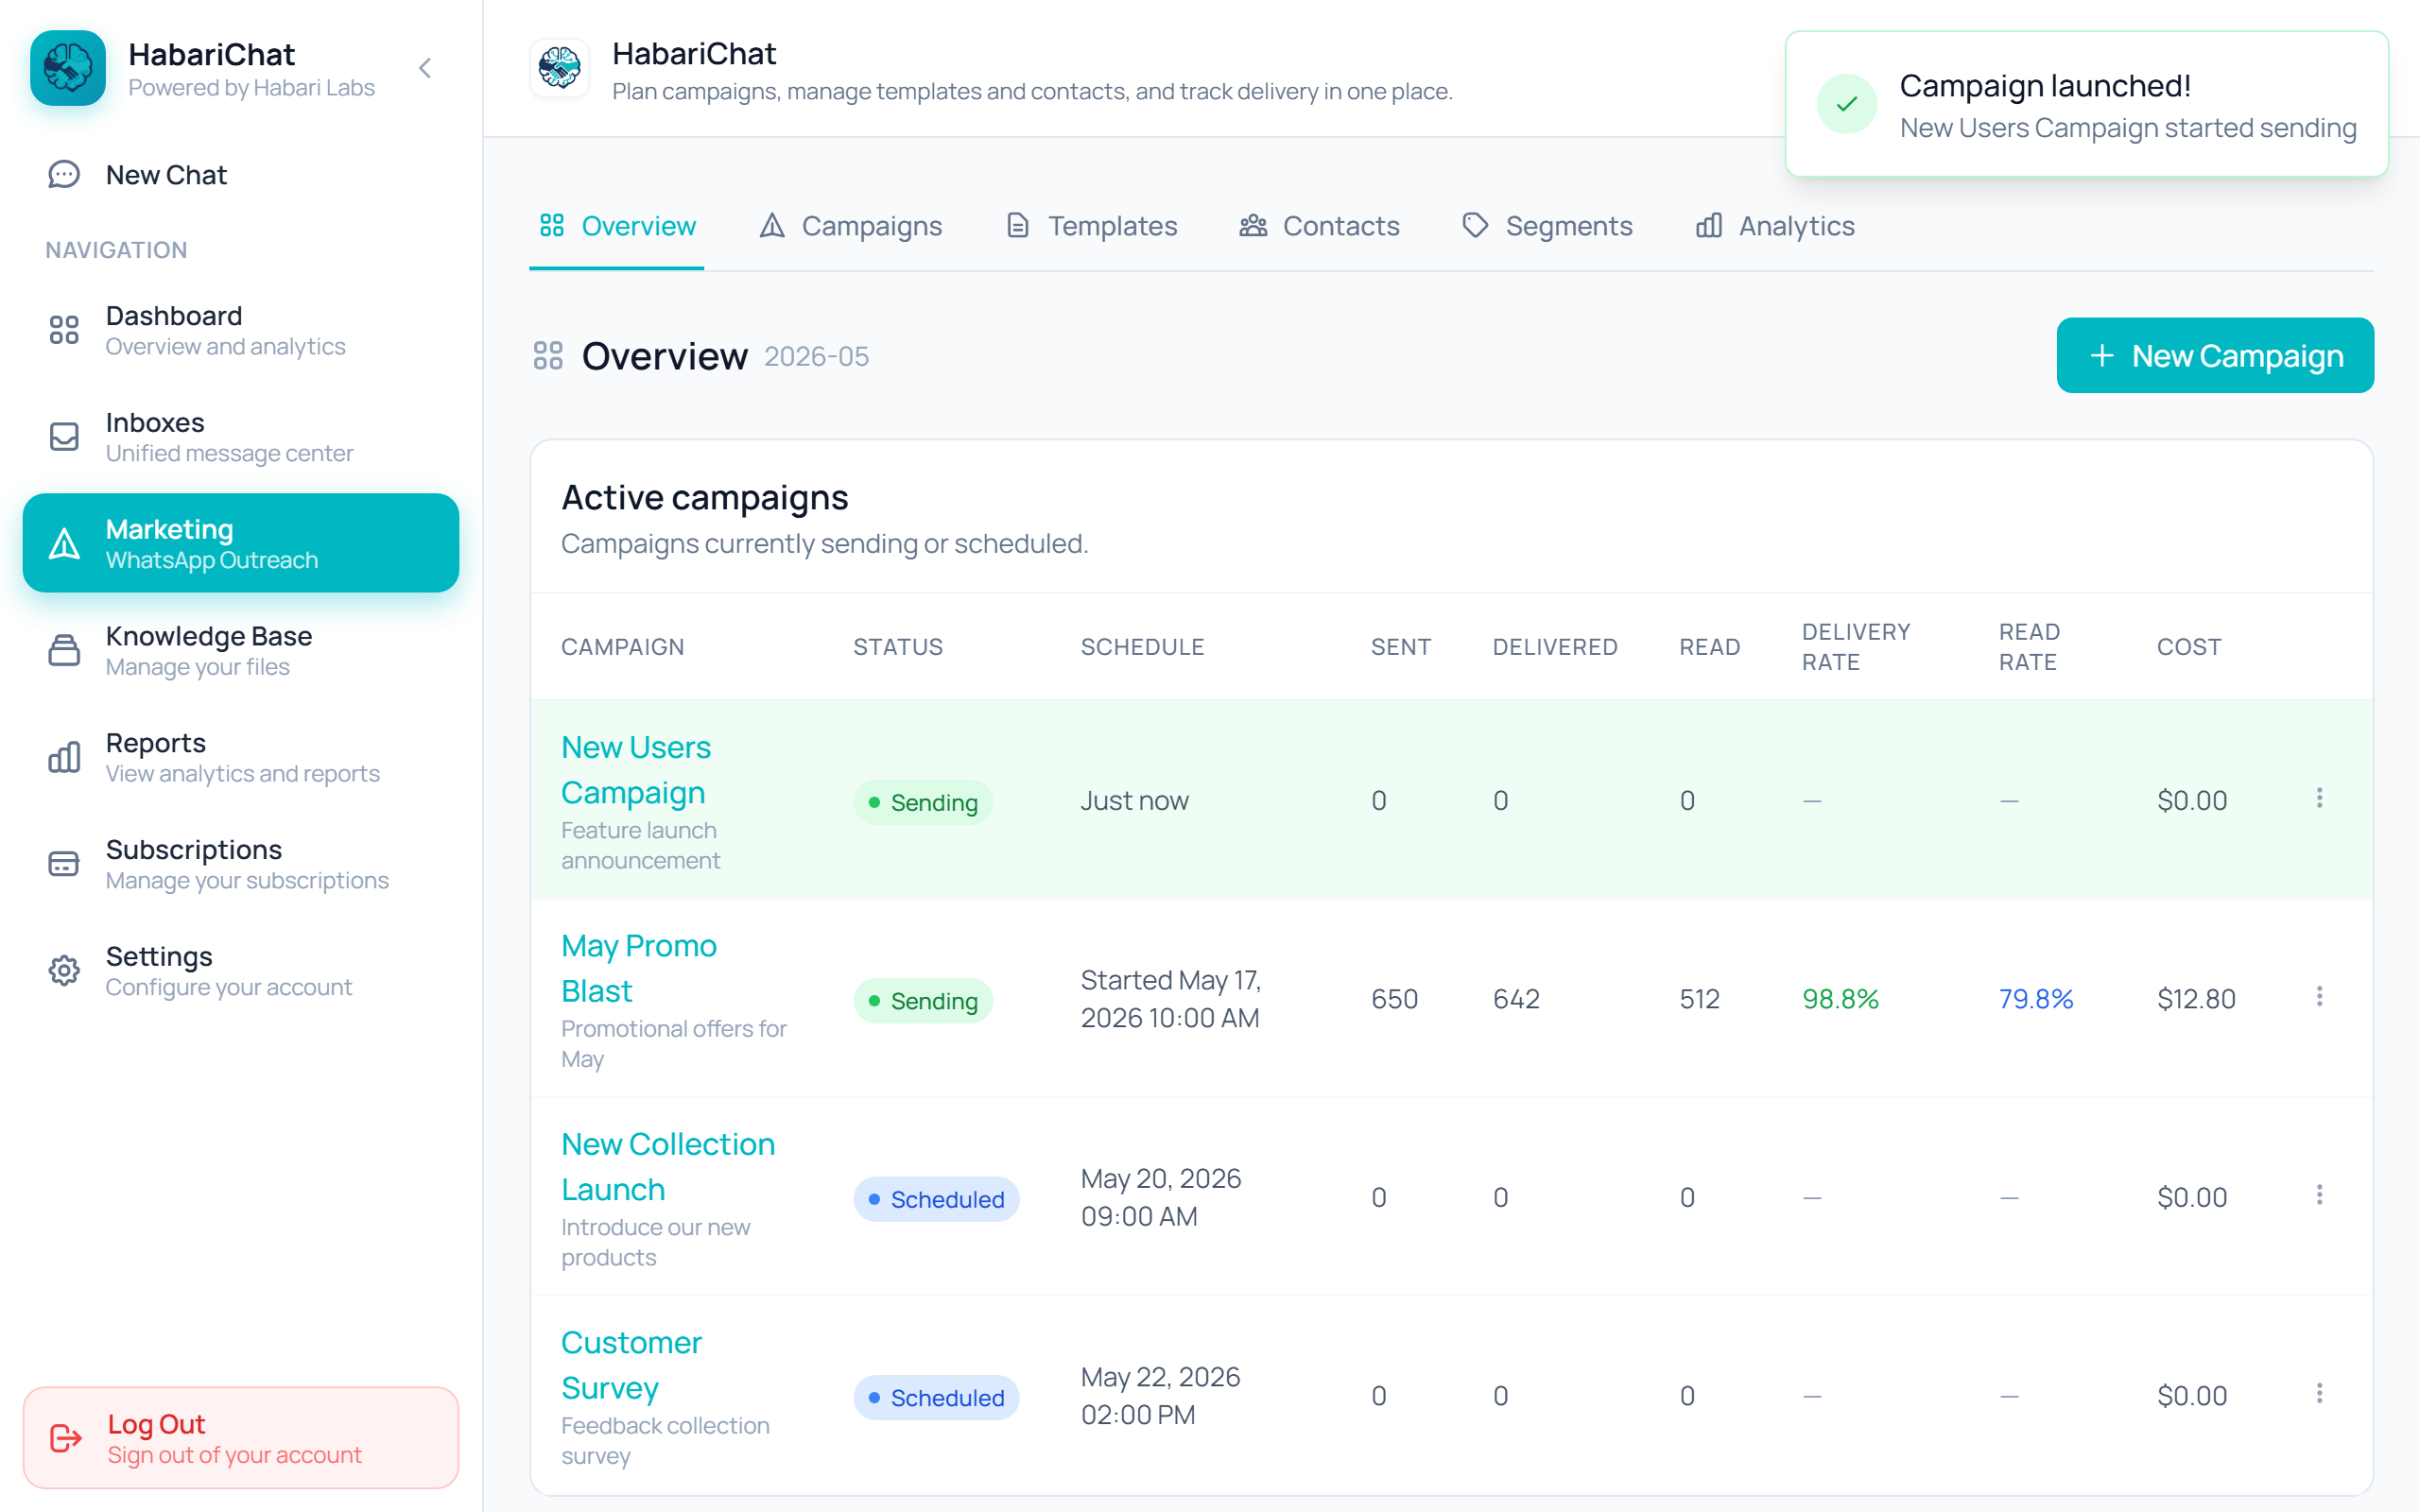
- Click Launch campaign.
Common questions
Click Create Campaign to open a four-step wizard: Basics (name it and choose the WhatsApp inbox), Template (pick a Meta-approved template), Audience (choose a segment or specific contacts), then Review and schedule (map variables and send now or schedule). Finish with Launch campaign.
Meta requires that broadcast messages use pre-approved message templates. Only approved templates can be sent in a campaign, and the live preview shows their variables, such as {{1}} and {{2}}, as you build.
Yes. In the Review and schedule step you can choose Send now or Schedule the campaign for a later date and time. After sending, replies land in your inbox and you can track sent, delivered, read and replied counts in real time.